Guide for Mac
We offer a one-time free short session remote assistance, our expert chief admin will install for you while you sit and watch. See yoma.one/remote/ for further info.
You may find this guide too much to read. But this will help you have a smooth and step-by-step illustrated setup. Many people have successfully followed this, we hope you can too.
Our previous advice for macOS 10.8 to 10.14 users is installing Xquarts then WineHQ. See https://wiki.winehq.org/MacOS for further reading.
Our current advice now is to use PlayOnMac. Follow the guide below.
Please note Big Sur users may experience issues based on attempts by other people. You can try, but there is no guarantee it will work. Keep watching the PlayOnMac website for updates.
Alternatively, you can use Parallels to run Windows OS on a Mac at the same time, or use BootCamp to run Windows on your Mac at boot time. License for Windows required, just shop around online.
Step 1 – Download CS
Download from drive.google.com/file/d/1CGO0ZjuXauB6rp4T5cLrm-08LX8Cw224/view?usp=sharing
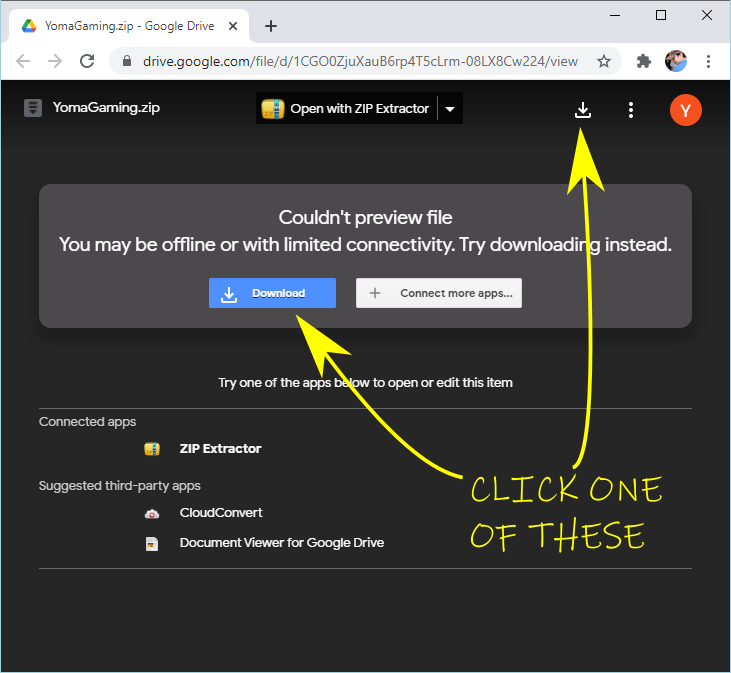
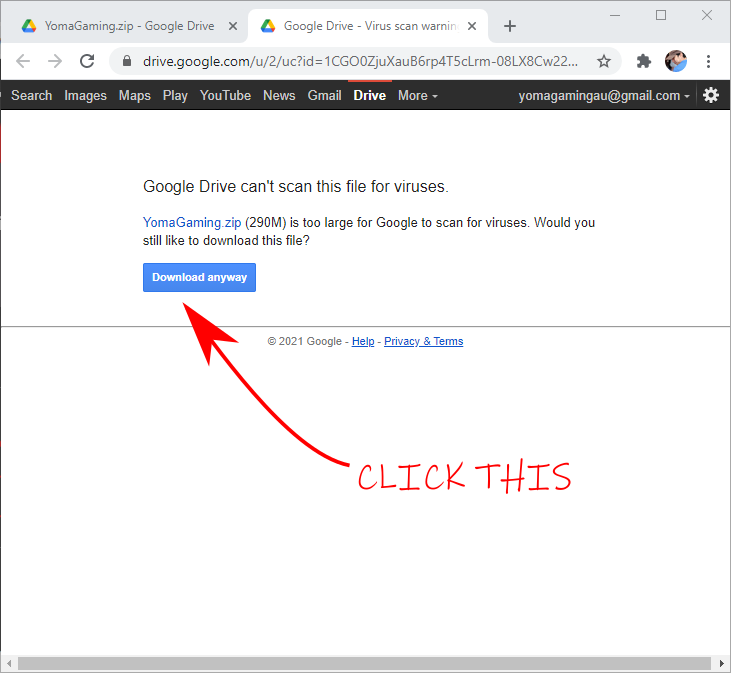
Step 2 – Extract
Extract the folder “YomaGaming” to a drive and folder of your choice.
Step 3 – Download and Install PlayOnMac
For MacOS 10.15 and above, choose PlayOnMac 4.4.2
https://repository.playonmac.com/PlayOnMac/PlayOnMac_4.4.2.dmg
For MacOS 10.14 and below, choose PlayOnMac 4.3.3
https://repository.playonmac.com/PlayOnMac/PlayOnMac_4.3.3.dmg
Watch a sample installation video https://youtu.be/DYom6i2CDec
Step 4 – Configure PlayOnMac
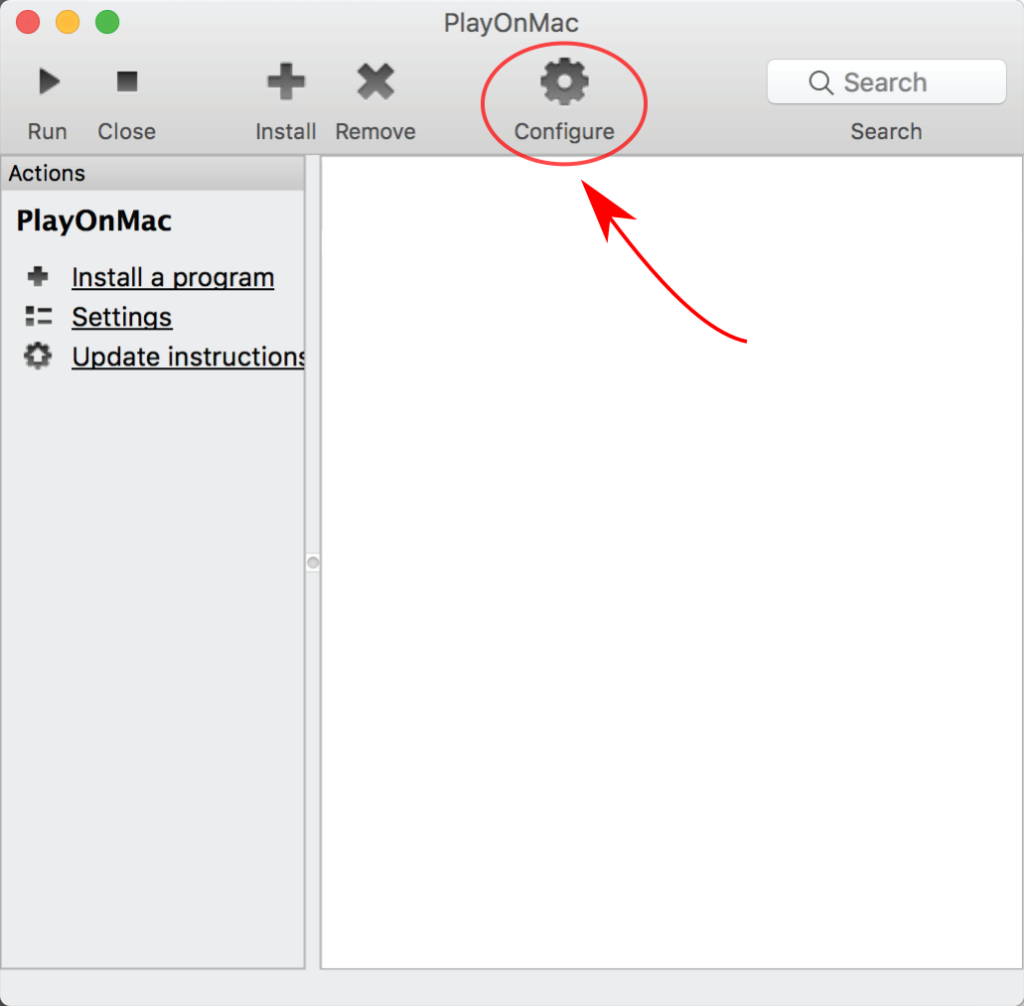
Start PlayOnMac, then click Configure
Click New
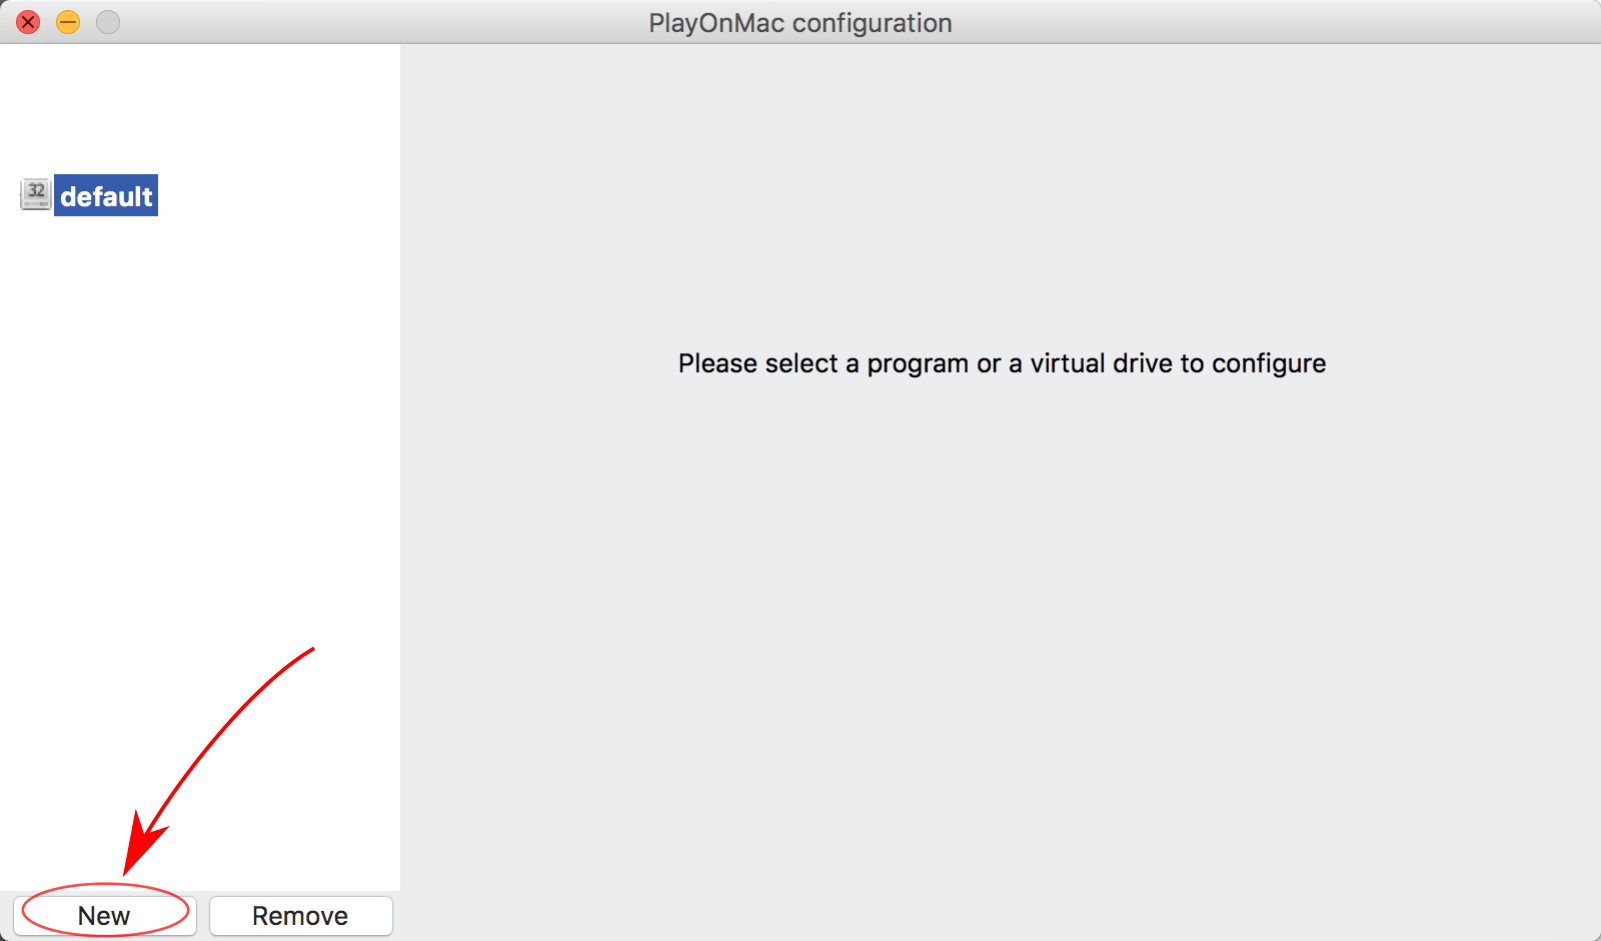
Follow the setup and choose 3.20
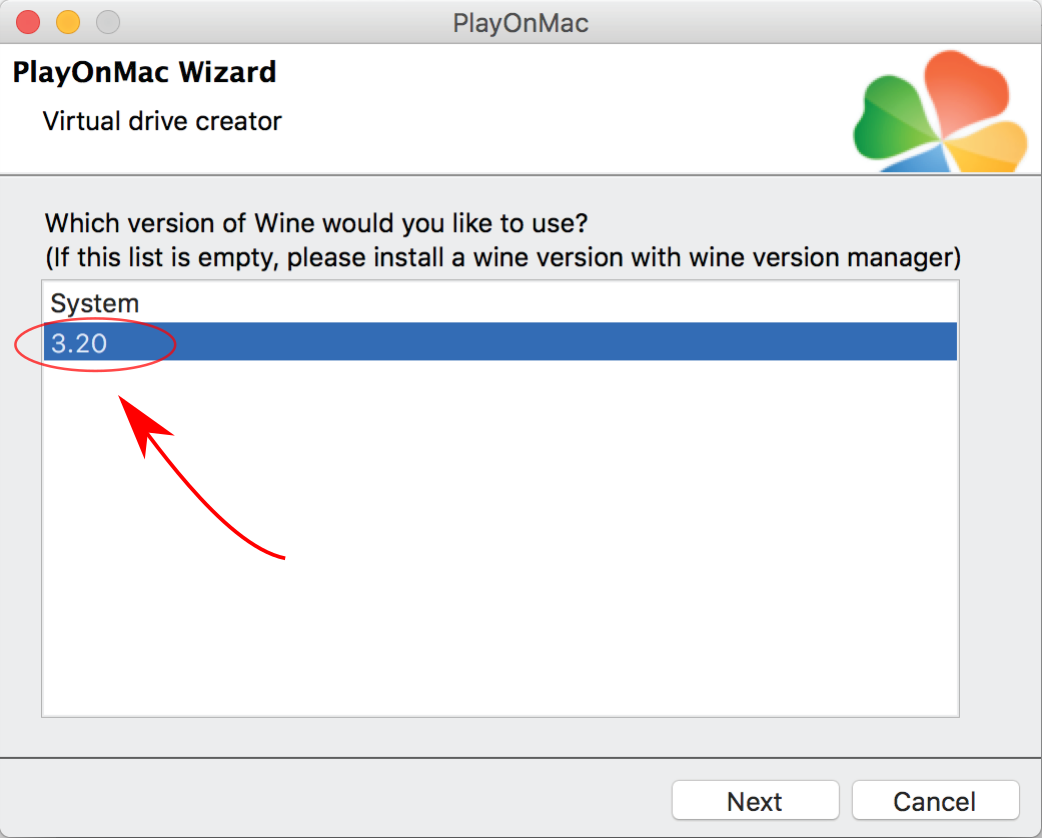
Put CS on name and click Next.
Once finished, click on CS and click Miscellaneous then Open virtual drive’s directory
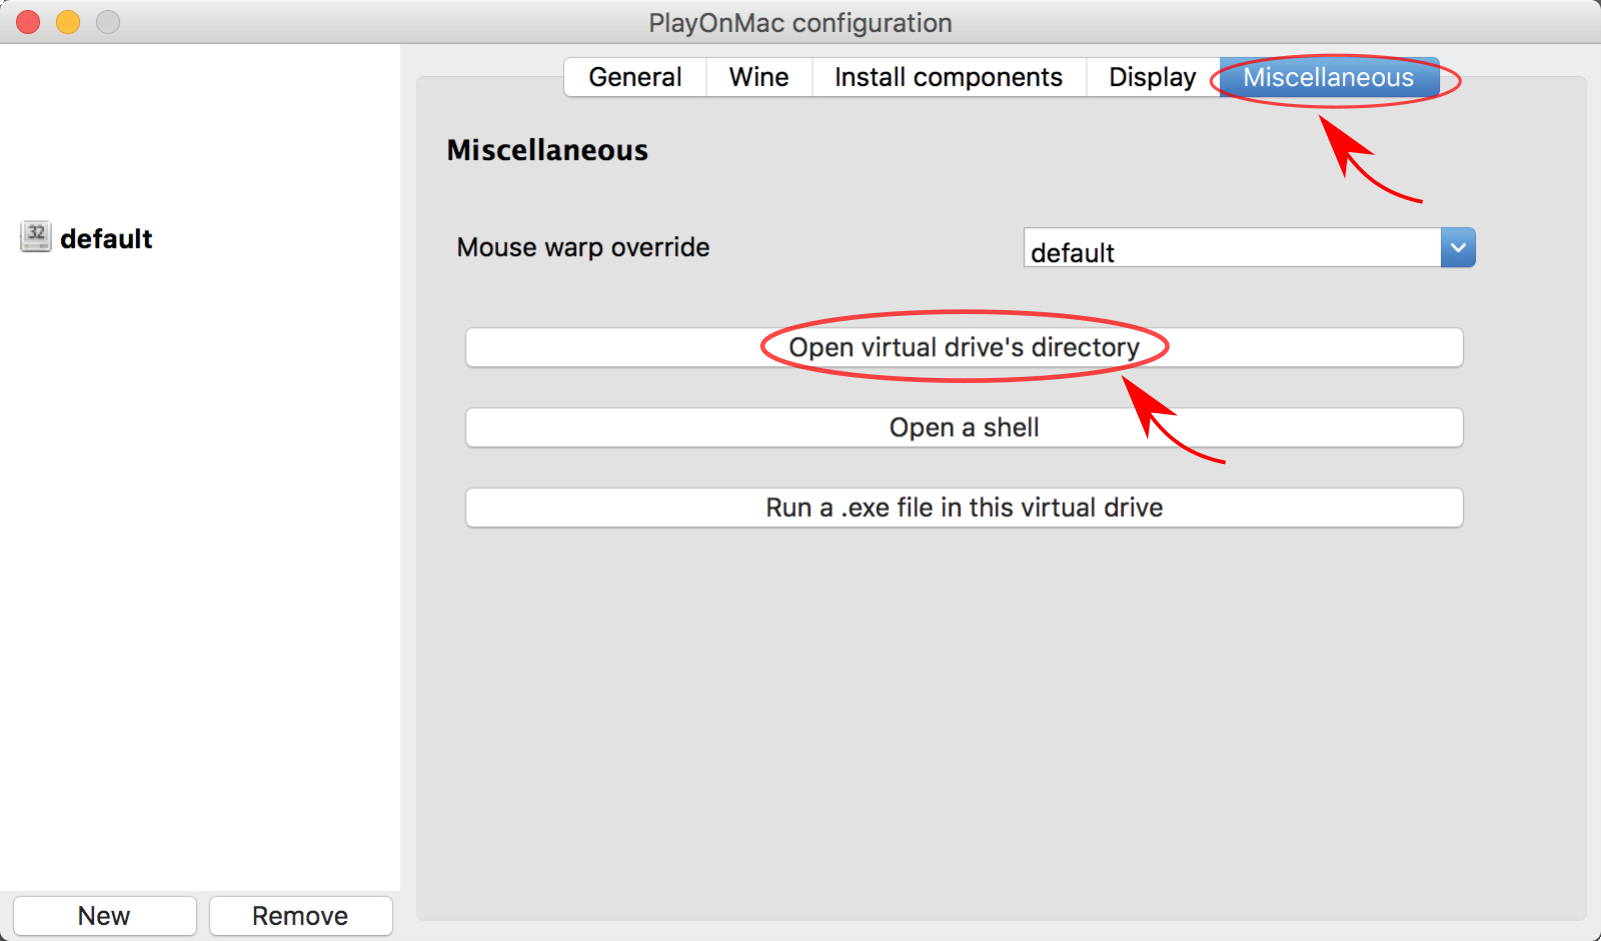
Go to drive_c and paste the YomaGaming folder.
Then go back to General and press Make a new shortcut from this virtual drive.
Follow the instructions and choose hl.exe
Once you have the shortcut click the hl shortcut and paste this in the Arguments box on the lower right.
-game cstrike -console
Then close the Configuration and go back to the PlayOnMac main window.
Step 5 – Register IGN
Decide the in-game-name (IGN) that you want to use while playing. Please choose wisely. Change name is by request only.
Please see the list yoma.one/ign/ before registering your IGN
Send your IGN to one of the Facebook group admins for server access.
Please note:
- Send a direct message to ONLY ONE of the Facebook group admins. do not send to all admins.
- Please DO NOT post or comment your IGN and Code on the Facebook group or Messenger group chats. It’s your private code.
- Please wait at least 48 hours for server access. Sometimes it’s instant if we are available.
- You will be notified via private message as soon as we activate your registration.
Step 6 – Activate
When the admin replies, download the zip file sent to you.
Go back to the PlayOnMac window and select hl shortcut then click Open the directory.
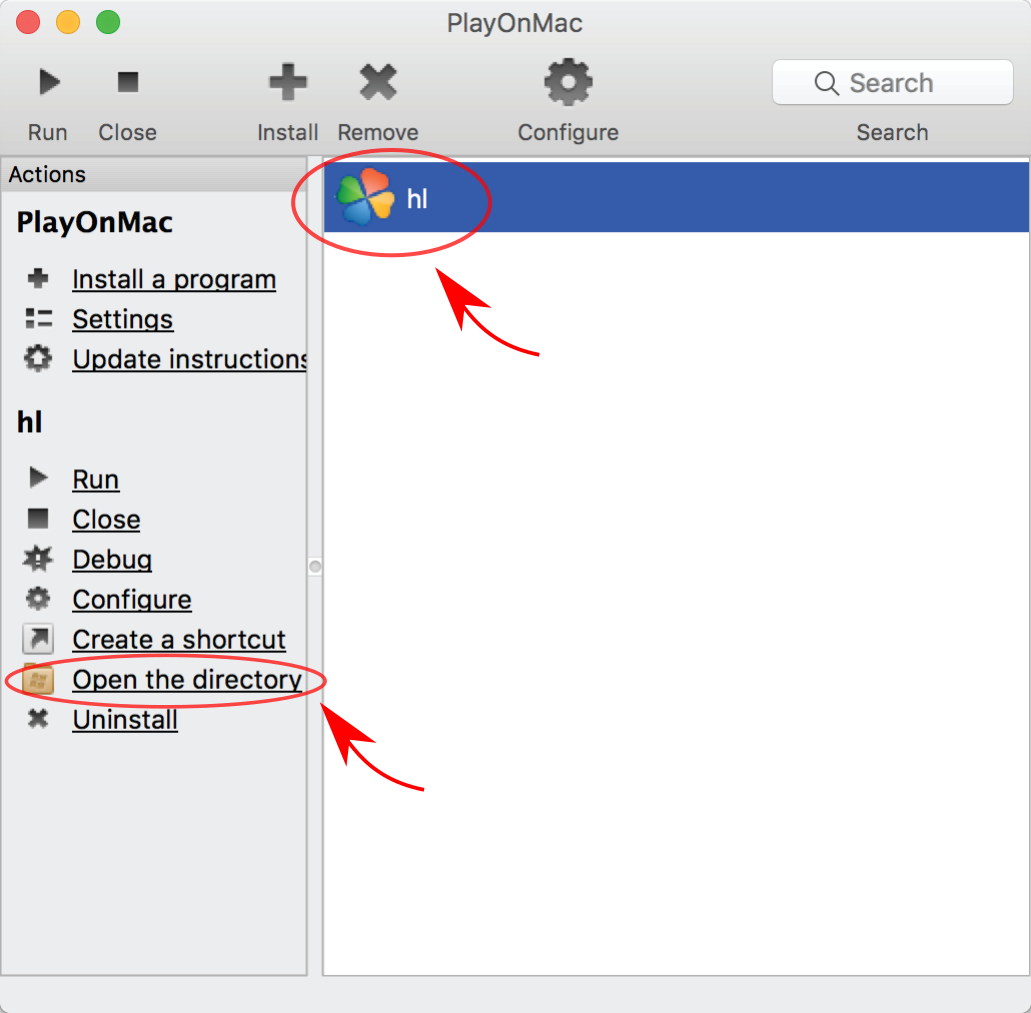
Go inside the cstrike folder then extract and paste the Key.cfg file you received from the admin.
Step 7 – Run CS
On the PlayOnMac window, click the hl shortcut then run.
see thee kee
The CS screen may be in black with the word Console. Just click in the middle left part of the screen and hope you click any Tabs and this will fix the black screen.
If still it is black, try lowering the resolution of your mac that is compatible with the CS resolution, i.e, 1024×768 or lower resolution
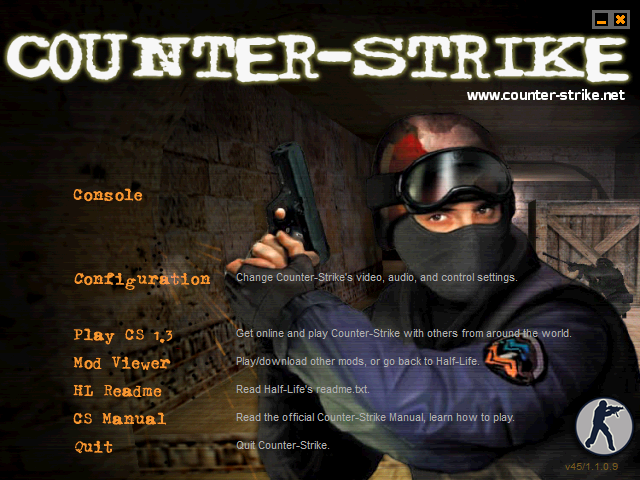
You may have to navigate blind if the screen is still black. Here is the normal appearance of the main menu. Just put your mouse in the right place and click and hope you clicked the right button.
Step 9 – Video Setup
Click on Configuration

Click on Video
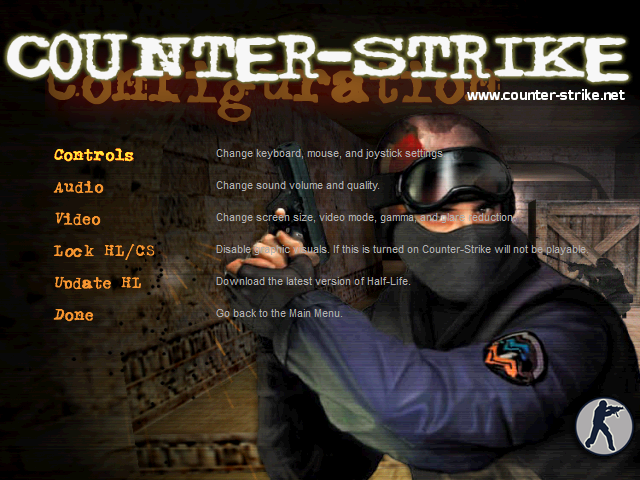
Click on Modes
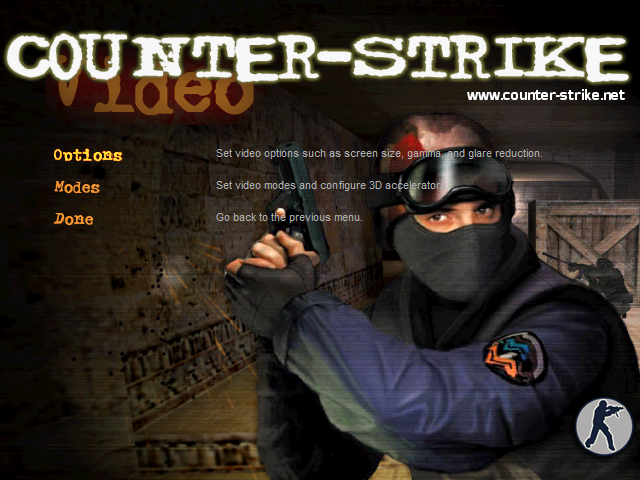
Choose OpenGL or Direct3D.
Start with 800×600, you can adjust this later.

Press OK > Done > Done until you reach the main menu.
Step 10 – Play
Click Console

Type server1
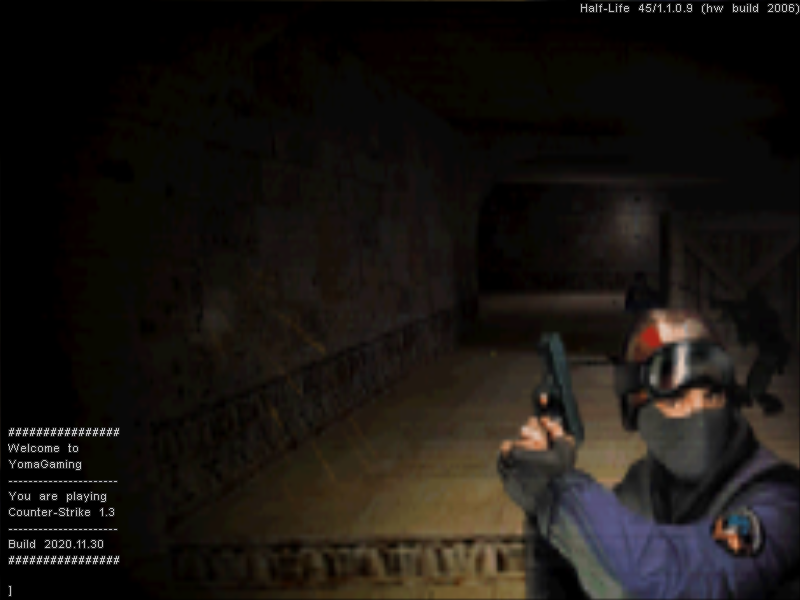
Please watch for announcements and type the server# mentioned, for example, server11, or server21, etc…
Other stuff
Send a personal or direct message to any of the Facebook group admins. Post or comments are not monitored. PM is the key!
special thanks to pawer_ranger for helping to produce this guide and screenshots.

